

How To Move Iphone Photos To Windows 10

Information technology is very mutual to hear almost the transfer photos between iPhone and Mac systems. And you desire to make it easy for iPhone to PC transfer. However, many iOS users take no clue how to transfer photos from iPhone/iPad to Windows 10 laptops or even virtually the process of windows x importing photos from the iPhone. Hence users need to know about the process through which they can easily transfer iPhone/iPad photos to Windows PC.
To follow these methods, you do not need to exist equipped with annihilation special. Just follow the unproblematic guide with each step carefully in this article and before long y'all will have your iPhone photos transferred to your Windows 10 PC.
Now without wasting whatever more time, we are moving towards exploring the methods with which y'all can import photos from iPhone to Windows ten.
You may be interested in vii Means to Catechumen HEIC to JPG in Seconds
- Part ane: Import photos from iPhone to Windows 10 using DocFone - Phone Manager (iOS)
- Part 2: Transfer photos from iPhone to Windows 10 using the Photos App
- Office 3: Transfer photos from iPhone to Windows 10 using Windows Explorer
Role 1: Import photos from iPhone to Windows 10 using DocFone - Phone Manager (iOS)
Nosotros shall kickoff with the near important method to import photos from iPhone to Windows 10, that is, using the DocFone - Phone Director (iOS), which is considered to be the easiest, safest as well equally most attention-grabbing software kit. This software works similar a consummate package tool for all your transfer-related queries, issues, and tasks. What you need to do is to take access to the tool and follow some simple user-friendly steps, and soon you will be able to import photos from your iPhone device to Windows x.
![]()
PhysicianFone - Phone Director (iOS)
Transfer Photos from iPhone/iPad to Windows 10 without iTunes
- Transfer, manage, export/import your music, photos, videos, contacts, SMS, Apps, etc.
- Fill-in your music, photos, videos, contacts, SMS, Apps, etc. to calculator and restore them easily.
- Transfer music, photos, videos, contacts, messages, etc from one smartphone to some other.
- Transfer media files betwixt iOS devices and iTunes.
- Fully uniform with all iOS versions that run on iPhone, iPad, or iPod touch.
3981454 people take downloaded information technology


Beneath are the required steps with details and relevant screenshots, just go through them to know more about the process.
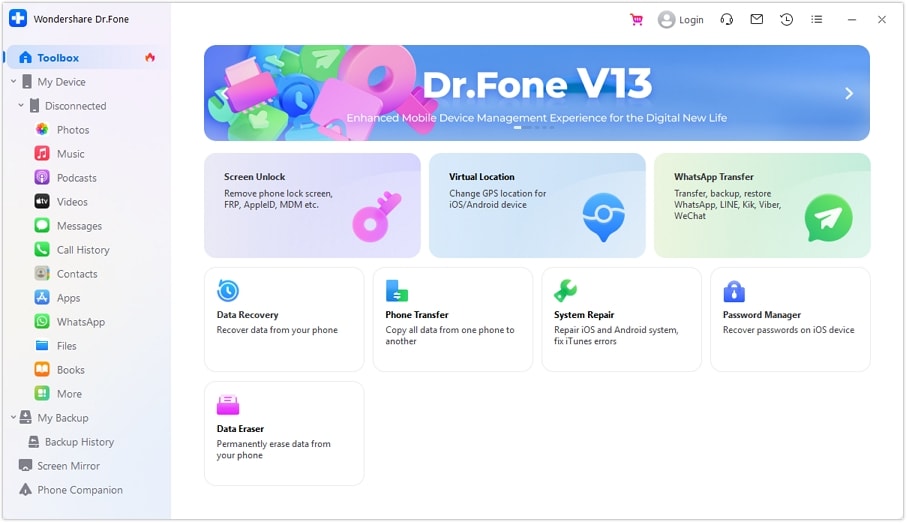
Step ane: Open the interface by visiting the Official site of PhysicianFone - Phone Manager (iOS). Afterwards launching the tool out of diverse options you lot need to select the "Phone Director" manner.
Stride 2: At present Connect iPhone to Windows 10, which volition prompt the master connection window under the toolkit.
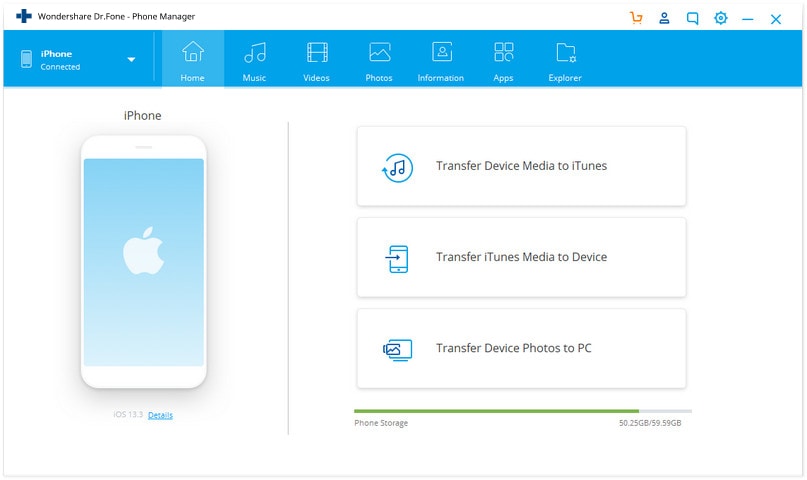
Pace iii: From the dwelling house page, click on Photos Tab, listing of photos available on your iPhone device will appear, select the desired photos and then choose "Export to PC".

Footstep 4: Select the final binder under Windows 10 to relieve the photos, OK that. And soon you will have a progress bar that reflects the transfer process. And after that, your photos volition exist transferred to Windows 10 from your iPhone.
Using Dr.Fone - Phone Manager (iOS) non but saves your fourth dimension as well as it is 1 of the most valuable in terms of keeping the quality intact, which is performing windows x import photos from iPhone. Then you can go with the process, leaving all worries aside.
Part 2: Transfer photos from iPhone to Windows 10 using the Photos App
The next method we are mentioning hither is using Photos App which can assist in the purpose of importing photos from iPhone to Windows ten. Photos app under Windows 10 PC is considered every bit the organizer for photos-related tasks, so you tin can as well take the help of this app service from Microsoft.
The required steps which will atomic number 82 you to successfully transfer iPhone photos to your Windows 10 PC are every bit follows.
Stride 1: First, connect iPhone to PC. After that open the Start menu > there either type or directly select Photos application > an authority folio will appear, just grant the permission to connect.

Pace 2: When the Photos Application gets opened up, you demand to look at the top right side, here, employ the import option from the right corner at the top (Yous can take the assist of the screenshot below to get an idea).

Step three: A dialog box volition show up, from where you need to select from which device yous want to transfer, in this case, select the iPhone.

Footstep iv: After selecting the iPhone device, there will exist a curt scan that will go on > once washed with that a pop-up confirmation window will appear. Hither utilise continue to import all or else select the ones you wish to import > then choose to continue option.

Step 5: Choose a location to save the photos and printing OK to consummate the transfer procedure.
Doing so volition save your precious photos/media files to the desired location on Windows 10 PC that you can access any time at your convenience. Also as this fashion you tin double ensure that the photograph media is saved cautiously.
If you get through the in a higher place process then agreement how to transfer photos from iPad to laptop windows 10 becomes an piece of cake chore for you. With the aid of this Photos awarding for Windows 10 PC, you tin can easily and comfortably transfer or import iPhone photos to Windows 10.
Part iii: Transfer photos from iPhone to Windows ten using Windows Explorer
All the windows users must take heard about Windows Explorer, just only a few know that it can assistance Windows ten to import photos from iPhone. Just the question is how to transfer photos from iPad to pc windows x? Well, exercise not worry, we are here to explain the complete process with relevant screenshots to y'all in a better fashion.
So, permit u.s. commencement understanding the process in-depth with the help of detailed steps:
Step 1: Launch the Windows explorer either using the outset menu
or with the help of Windows Key + E, this will automatically prompt to open upwardly the windows explorer
Connect your phone to the pc > allow as trusted device > Choose Apple tree iPhone on the explorer window

Step 2: Then move towards the internal storage device> in that location visit DCIM folder

For all photos > yous can either use the shortcut keys such as ctrl-A+ ctrl-C or else visit Home carte du jour > and select all
Step 3: Now open the folder in your windows 10 where you want to relieve the photos and press Ctrl- V (or paste)
Otherwise, you can select as per the requirement. Then choose the location where you want to go along rubber your iPhone photos and paste them there.
Post-obit the above steps will enable you lot to use your Windows Explorer service to import photos from iPhone to Windows x, so just follow them and become access to your valuable photos from your PC besides.
Summary
To save or create a backup of our memorable moments that are captured under photos/images/videos, we should always remain cautious while choosing the platform which tin perform the transfer procedure with ease. Well, you need not exist concerned about that anymore. Methods guided above are well organized, plus using Dr.Fone- transfer (iOS) toolkit provides yous an efficient platform to enable importing photos from iPhone to Windows 10 with much ease and in a safer mode. Thus, you can protect all your valuable memories with photos forever.
Other Pop Articles From Wondershare
Source: https://drfone.wondershare.com/iphone-transfer/import-photos-from-iphone-to-windows-10.html
Posted by: moandin1942.blogspot.com
0 Response to "How To Move Iphone Photos To Windows 10"
Post a Comment